Eating Outside Year Round
Lynae Malchus

We hear it all the time, usually something along the lines of: “We love to eat outside but it's too hot! (or windy or cold!)”

In Southern Utah, the answer starts with thoughtful shelter. A well-placed pergola or covered patio blocks the high sun in summer and offers refuge from dust or light rain. If you extend your roofline a few feet beyond the house, you’ll enjoy morning coffee in shaded comfort and afternoon cookouts without chasing the shade. In winter, that same overhang shields you from chilly winds while still letting in low-angle sun, so you can linger outside even when temperatures dip.


Cooking outdoors is more than wheeling a grill onto the driveway. Think built-in counters with weather-proof surfaces, a sink with running water, and storage cabinets sealed tight against dust. A compact outdoor kitchen keeps everything at arm’s reach—utensils, spices, and dishes—so dinner prep flows smoothly from house to porch. Lay a narrow ledge for drinks and snacks so guests can mingle while you cook. With proper planning, you’ll find that evening meals under the sky feel as effortless as setting the table in your dining room.

Comfort beyond cooking means adding warmth and light. A fire pit or gas-fired hearth becomes the gathering point on cool evenings, while infrared or propane heaters under the pergola extend your season even further. String lights or low-glare fixtures around beams cast a soft glow without overwhelming your view of the stars. Choose furniture built for desert extremes—aluminum frames with quick-dry cushions, and tables that won’t warp under blazing sun. Throw in a few outdoor rugs and textured pillows to soften the space and add a cozy touch.


One of the best parts of outdoor living is flexibility. Arrange a dining table for family meals, then slide it aside for yoga at dawn or a game of cornhole at dusk. Use modular seating you can reconfigure for movie nights, card games, or solo reading nooks. Add rolling planters filled with native grasses or succulents to bring life and texture, and move them as the seasons change. With a flexible layout, your space adapts to every activity, so nobody feels cramped when the whole family shows up.


Finally, remember that even the best-designed patio needs basic upkeep. Sweep away dust after storms, rinse pavers to prevent stains, and seal stone surfaces every year to guard against water damage. Store cushions when heavy snow or high winds are forecast, and touch up painted wood once it shows wear. A little maintenance goes a long way toward keeping your outdoor rooms feeling fresh and welcoming.


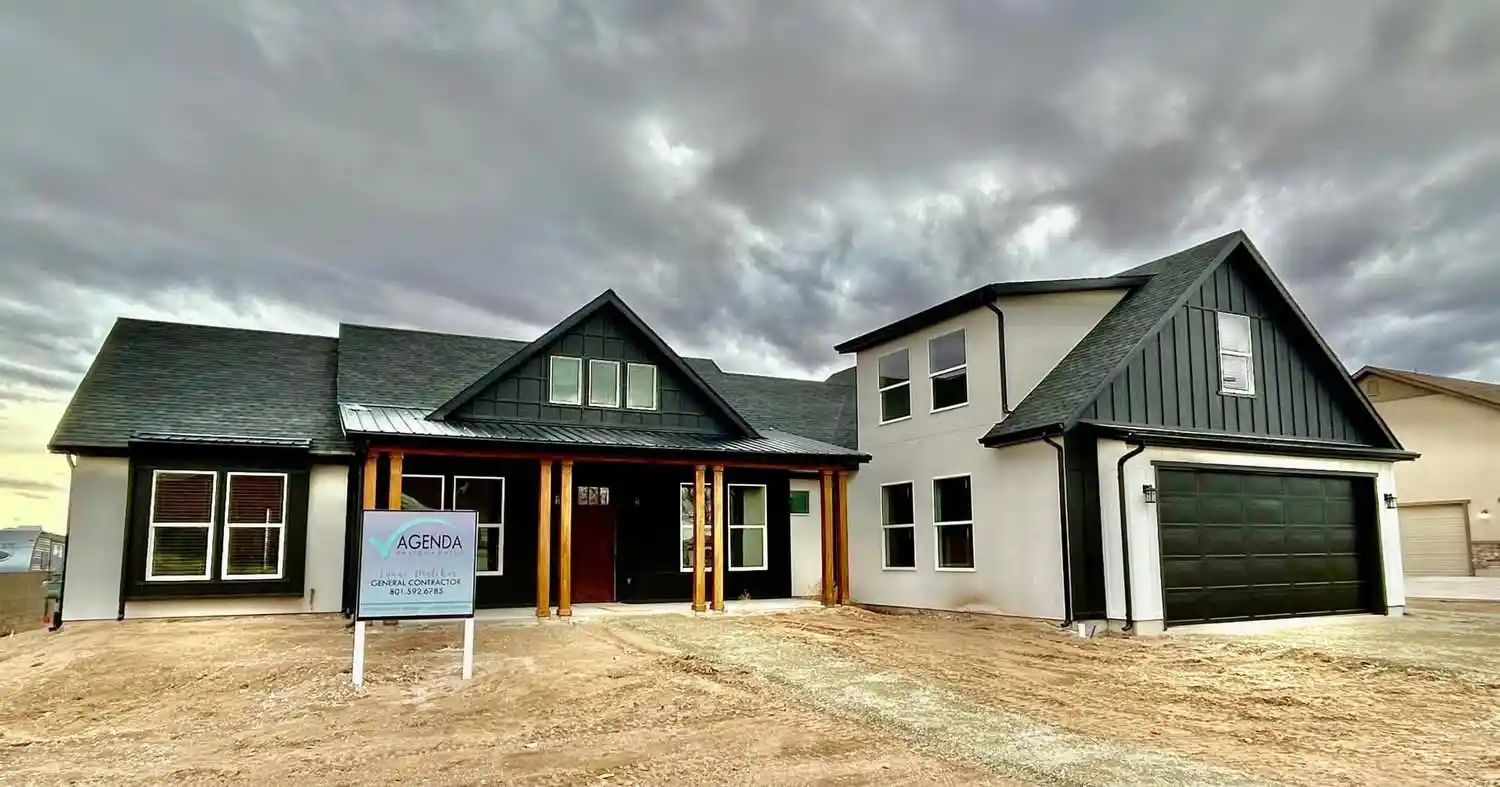
When you get this balance right—shelter, cooking, comfort, flexibility, and care—you’ll find that your backyard becomes a true extension of your home. Families in Milford, Beaver, and beyond are discovering that with the right design, you can eat, laugh, and relax outdoors all year long. If you’re ready to make your outdoor space a seasonal favorite, let’s talk. I’m Lynae Malchus at Agenda Design+Build, and I’d love to help you bring your vision to life.

By Lynae Malchus October 15, 2025
The Blue Tape Walkthrough: What to Expect and How to Make the Most of It Building a home is a thrilling journey filled with excitement and anticipation. As your new home nears completion, there's a crucial step you'll experience—the "Blue Tape Walkthrough." If you've never done one before or just need a refresher, this guide explains exactly what you can expect and how to confidently navigate this important milestone. What Exactly is a Blue Tape Walkthrough? The Blue Tape Walkthrough, also known as the "punch list walkthrough," is your opportunity to inspect your nearly finished home closely and identify any issues or imperfections. You'll literally use blue painter's tape to mark areas needing attention, hence the name. Why It's Important This walkthrough ensures that the builder completes any necessary final touches before you move in, helping your home feel truly finished and high-quality. Who Will Be There? Typically, you'll walk through your home with your builder, construction manager, or project lead. Their role is to assist you, answer questions, and note your concerns. What Should You Bring? Blue painter's tape (usually provided by the builder, but bring extra just in case) A notebook or your phone for notes and pictures Flashlight to clearly inspect darker areas like closets and corners What to Look For During the Walkthrough Here's a practical checklist to guide you: 1. Walls and Ceilings: Look closely for uneven paint, drips, or spots needing touch-ups. Check for drywall imperfections, cracks, or dents. 2. Flooring: Inspect carpets for proper installation, wrinkles, or stains. Look at wood or laminate floors for scratches, chips, or uneven boards. Examine tile for consistent grout lines, cracks, or chipped edges. 3. Cabinetry and Hardware: Ensure cabinets open and close smoothly, hinges are aligned, and knobs or handles are secure. 4. Doors and Windows: Check that all doors close and latch smoothly, fit properly, and aren't scratched or warped. Inspect windows for ease of operation, secure seals, and clear glass without scratches or damage. 5. Plumbing Fixtures: Test faucets, toilets, tubs, and showers for leaks, water pressure, proper drainage, and secure installation. 6. Electrical: Verify that switches, outlets, and fixtures work correctly. Confirm placement and functionality of all lights. 7. HVAC System: Check thermostats, vents, and air conditioning or heating units for proper operation. 8. Appliances : Make sure all appliances function correctly and don't have cosmetic damage. How the Builder Should Respond A reputable builder welcomes your feedback during this walkthrough. They should: Encourage you to be thorough and attentive. Take clear notes and set timelines for addressing each item. Answer questions clearly and provide reassurance. After the Walkthrough Your builder will use the notes and taped items to create a punch list, clearly outlining tasks to complete before your final acceptance of the home. Ensure you have a copy of this list and schedule a final follow-up walkthrough to confirm all fixes. Final Thoughts The Blue Tape Walkthrough is your chance to ensure your new home meets your expectations and standards. Don’t rush—take your time, ask questions, and thoroughly inspect your home. With the right preparation and partnership with your builder, you'll move into a home you're genuinely proud of. Planning to build your dream home in Southern Utah? At Agenda Design+Build , we guide you through each step of the process, ensuring quality and satisfaction every step of the way. For more information, call Lynae at 801-592-6785.
Suburban house with a contemporary garage, blue roof, and lights on; wet street, dusk.
By Lynae Malchus August 15, 2025
Discover where to spend your money for the highest return on investment in your home. Learn top ROI projects from kitchens to curb appeal with Agenda Design+Build.